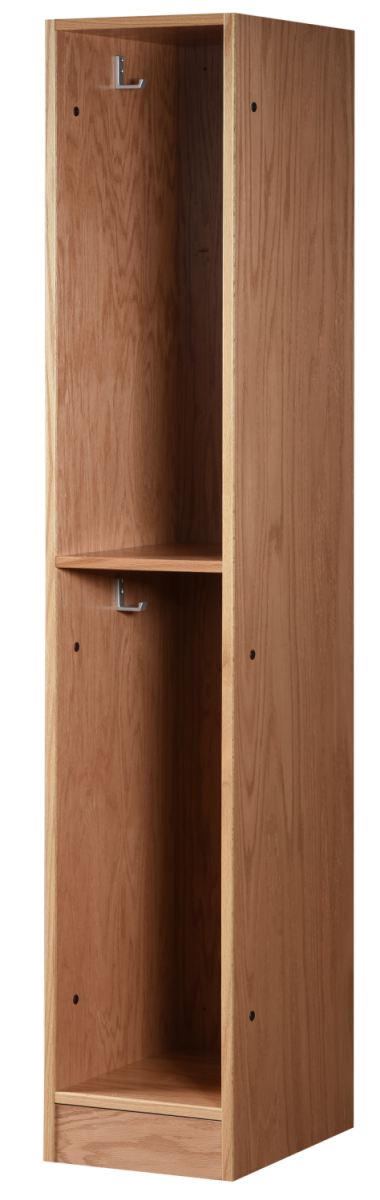
Two Tier Open Wood Locker
24" Lockers $396 each
(for locker room quantites, min. 4 lockers per order)
Our Two Tier Wood Lockers give your locker room a sleek look, provides privacy and also creates ample space and storage for your players.
- Ready to place wood sports lockers are fully assembled.
- Place wood locker against wall or back to back to form rows.
- Redesign your locker room, create more open space by eliminating benches.
- Finished with a highly durable UV finish that will stand up to harsh chemical cleaning.
Available in 14", 16", 18", 20", 22", 24" widths and 20", 24" depths.
Request a Quote
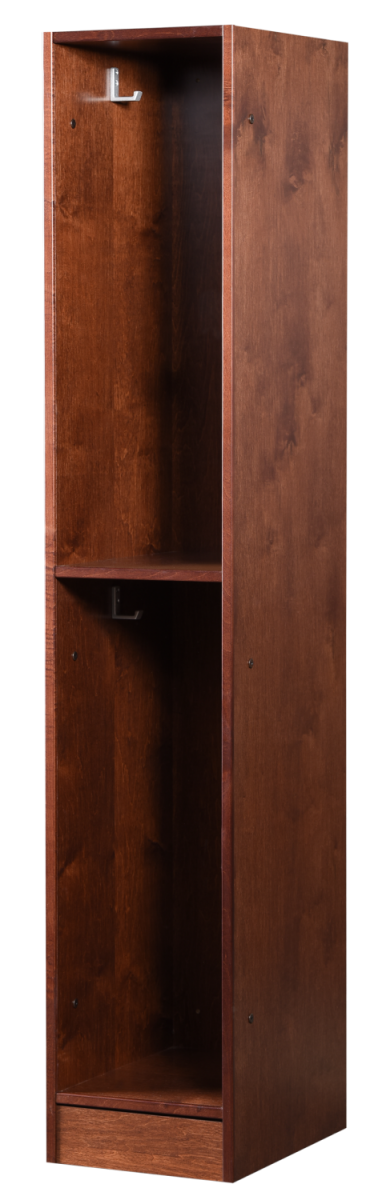
Two Tier Open Wood Locker
18"w x 16"d x 77"hTwo Tier Open Wood Lockers
Wood Lockers to designed to maximize available space
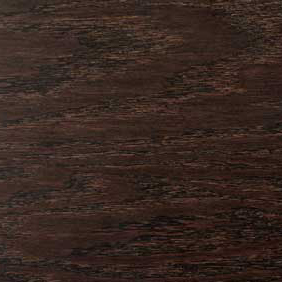
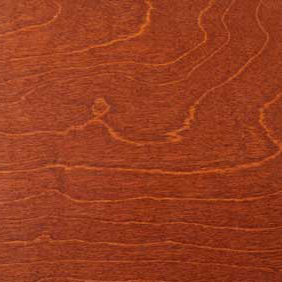
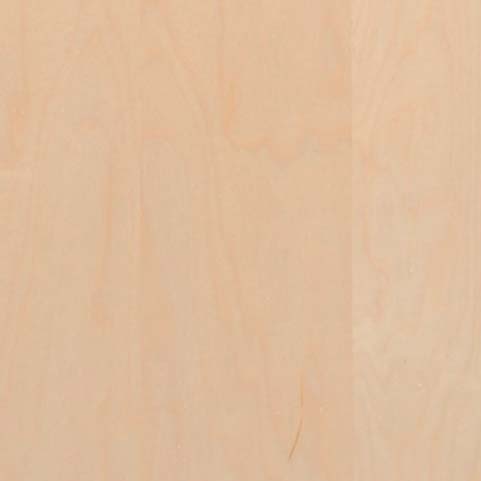
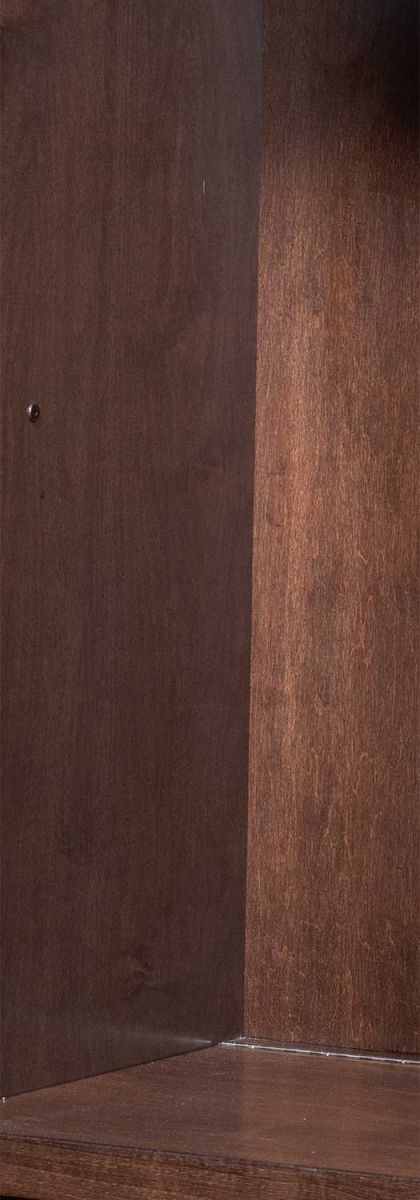
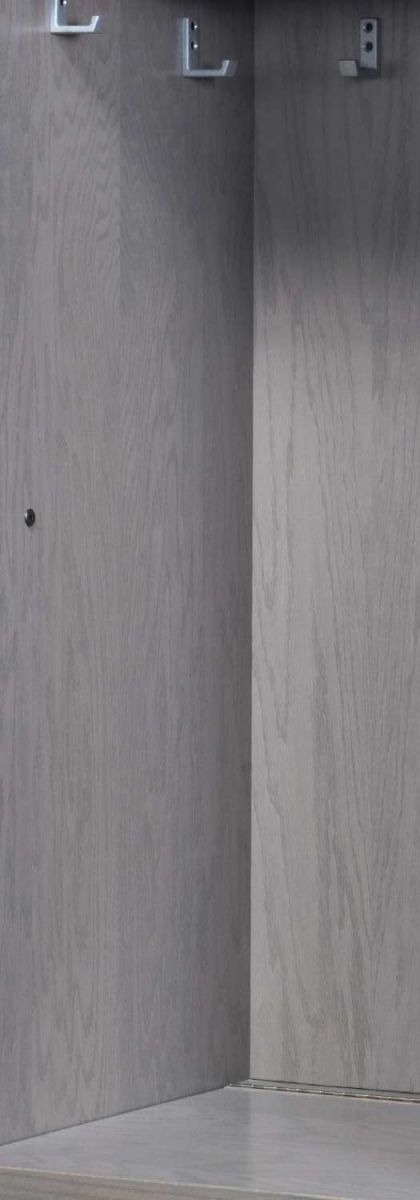
Available in 7 Colors

Standard Features of Two Tier Open Wood Locker
Available Options for Two Tier Open Wood Locker
Locker Specifications PDF
Wood Locker Installation Instructions
AllWood Lockers will arrive four to a pallet, Stretch wrap should be cut from top to bottom between the two black bands with a knife, being careful not to cut into locker. Cut straps, pull cardboard off (it is stapled into skid). Lift locker off skid onto floor. Lockers may then be moved with two wheel dolly from the back only so as not to damage finish.
Instructions, connecting bolts, wrenches, shims,master keys, and list of combinations, will be in locker # 1
Choose your starting locker location and place locker against wall- or against the back of another locker to form freestanding rows. Using a level on the side of the locker place shims between floor and locker to make sure locker is level vertically left to right. Using appropriate lag screws for your wall construction, attach locker to wall- use the two top holes provided in the locker back (located above the top shelf) and use one of the two lower holes under the seat.
Place the next locker alongside this locker and using the provided connector bolts attach to the side of the first locker. If holes do not line up between lockers use shims between locker kick plate and floor to get lockers in line with each other. Repeat with next locker. Every third locker should be attached to the wall with two top lags and one bottom lag. Use shims for lockers that are not in contact with floor, tap in with hammer and pry up with screwdriver so shim will no longer be visible.
Doors may be changed between lockers if necessary.