Open Wood Lockers
Wood Lockers for Athletic Locker Rooms
24" Lockers $491 each
30" Lockers $539 each
Available in 18", 20", 22", 24", 26", 28" and 30" widths(for locker room quantites, min. 4 lockers per order)
Our Open Wood Locker is designed with team in mind. It is made for players that prefer to hang garments on hooks, and allows for quicker drying of damp gear. Its open front enlarges locker rooms and allows for an open feel to any locker room.
Perfect for team locker rooms
- Ready to place wood lockers are fully assembled.
- Lockers can be placed against walls or back to back to form rows.
- Redesign your locker room -- create more open space by eliminating benches.
Request a Quote
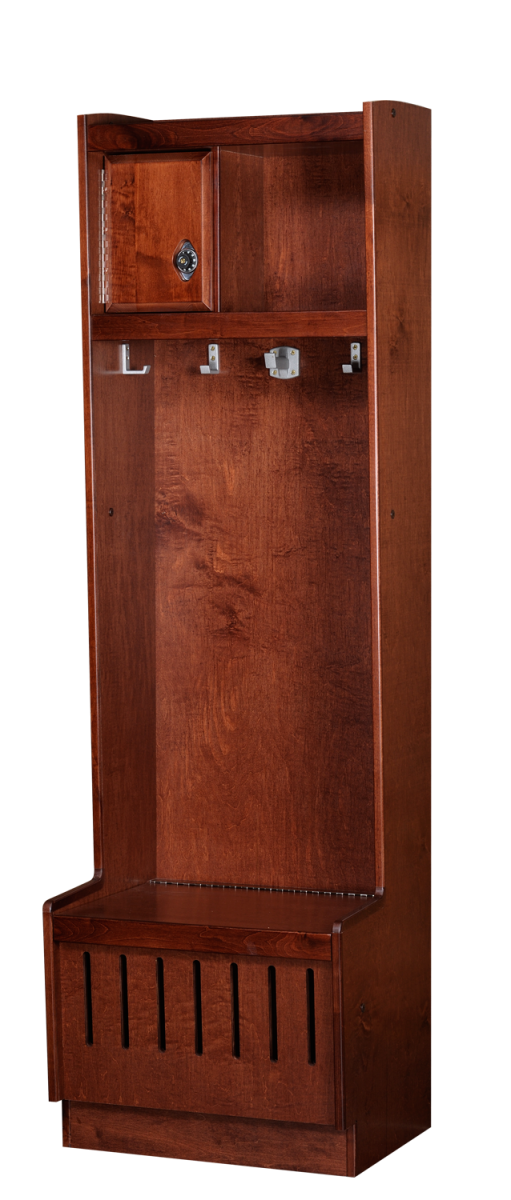
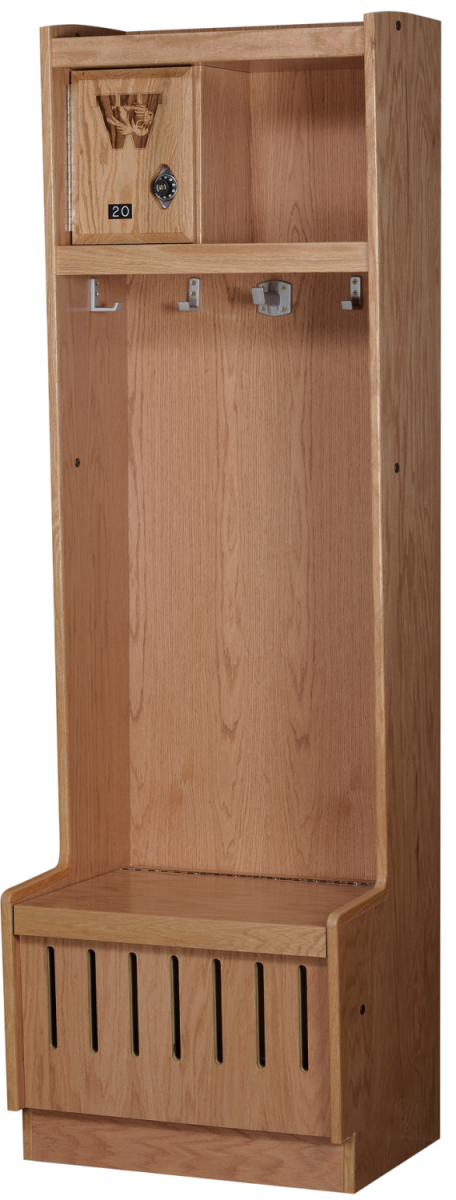
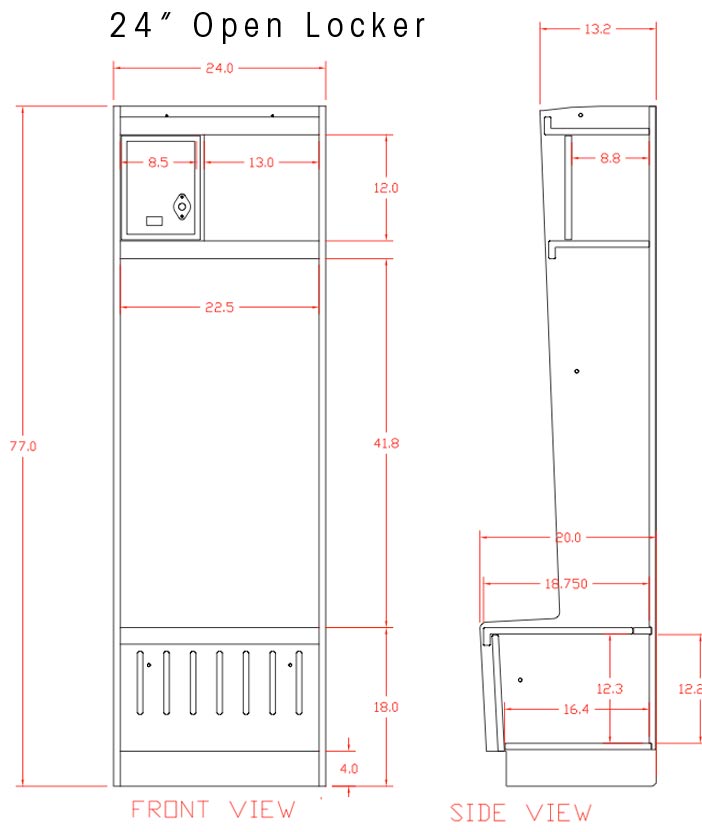
24" Open Locker
Shown in Rosewood Maple24”w x 20”d x 77”h
Open Locker Features
Our lockers are built to withstand years of use.
- Made with Solid hardwood doors and front facings
- Case constructed of sturdy 3/4" hardwood plywood sides, shelves and back.
- Finished with a highly durable UV finish that will stand up to harsh chemical cleaning.
- Built in combination lock for valuables storage above
- Seat lifts to access ventilated storage compartment below.
- Includes 6 solid aluminum hooks for hanging garments
- 20" depth gives more storage on top two shelves and more privacy to the player
- Each locker is individually numbered.
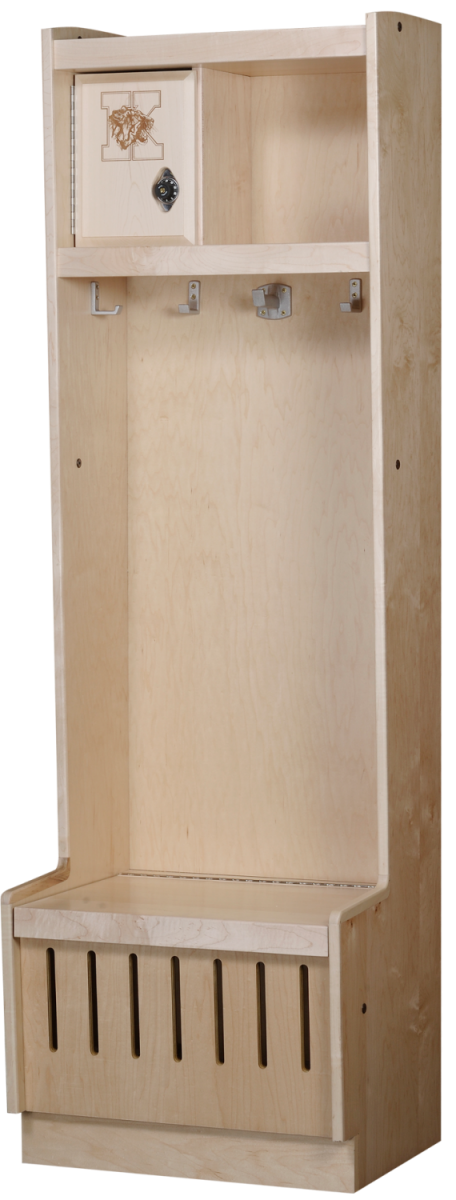
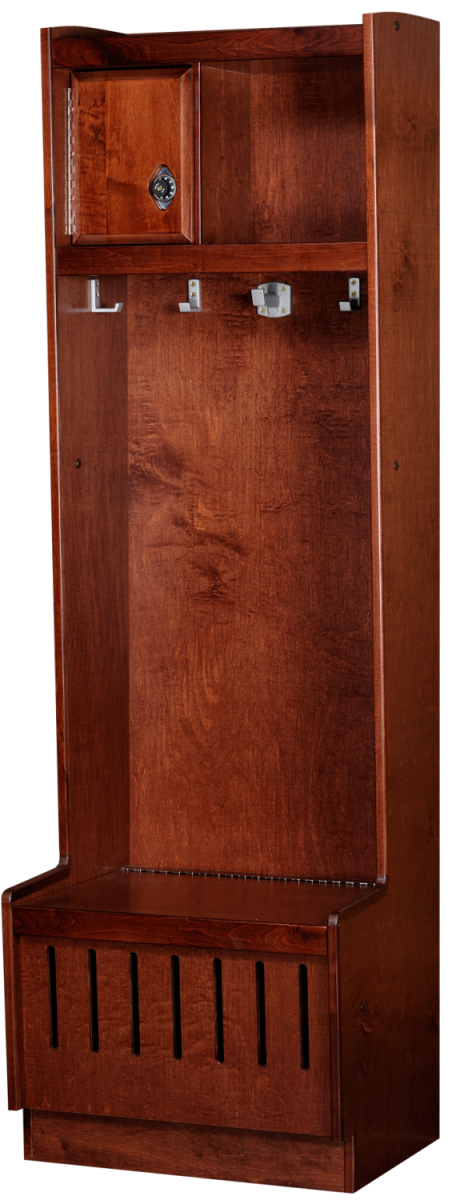
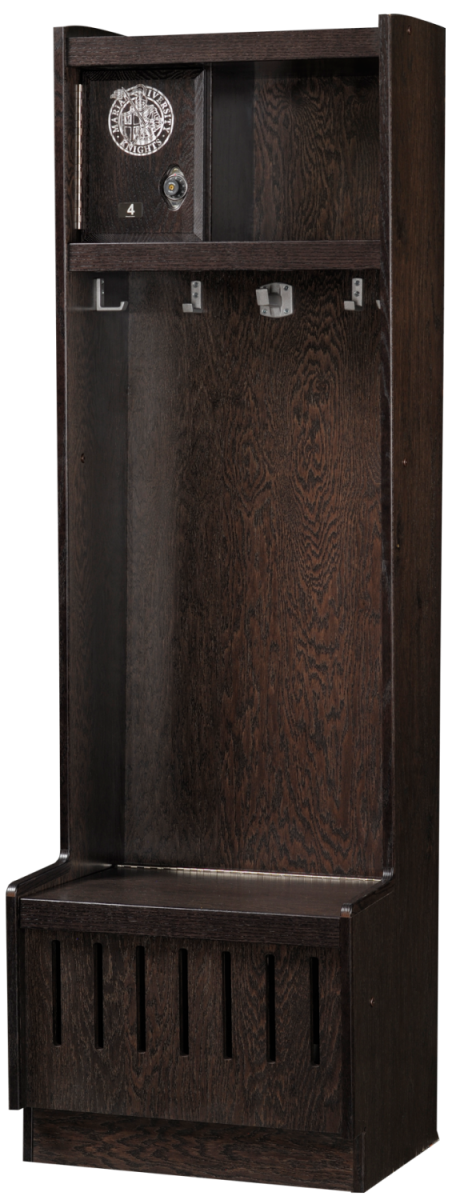
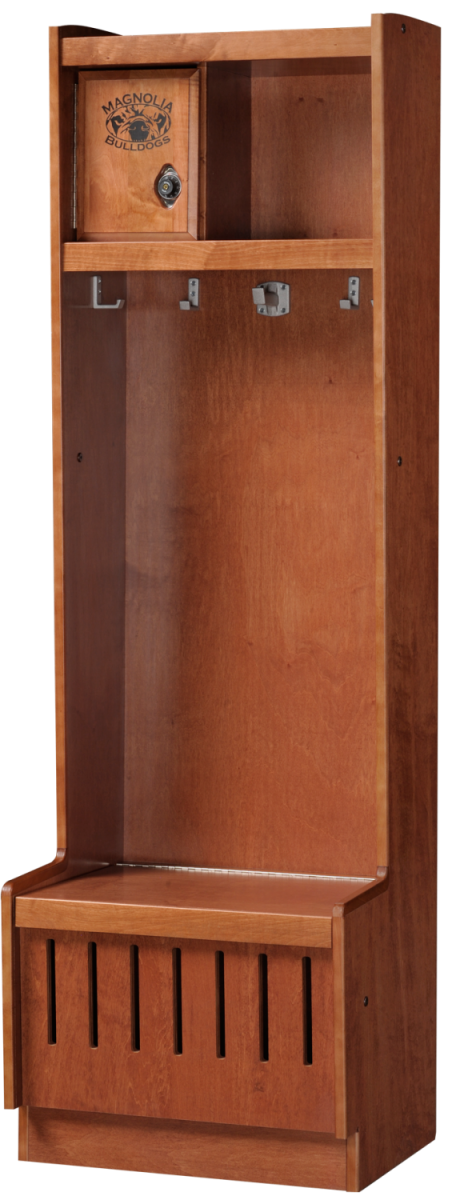
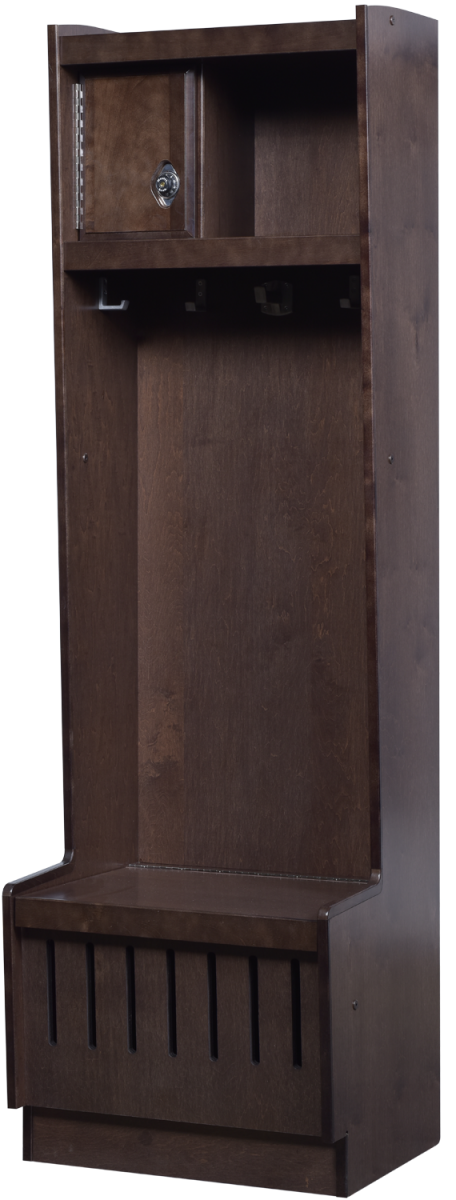
Available in 7 Colors
Standard Features of Open Wood Lockers
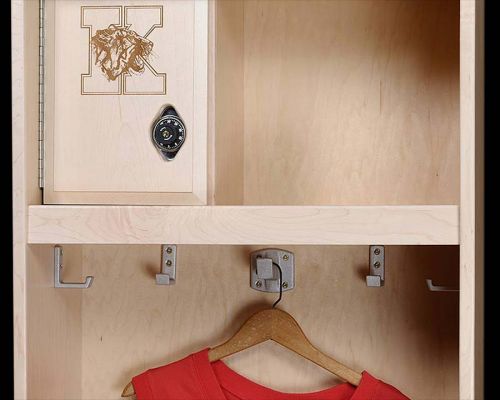
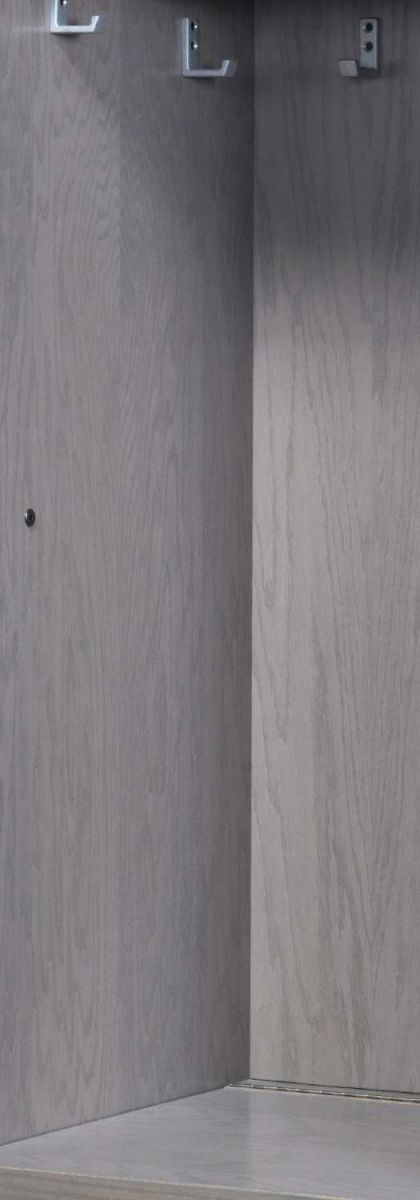
Three Inch Coat Hook
(Allows Open Locker to use Coat Hangers)
Also includes 4 additional solid aluminum hooks. Open design allows for quicker drying of garments and keeps locker rooms more open.
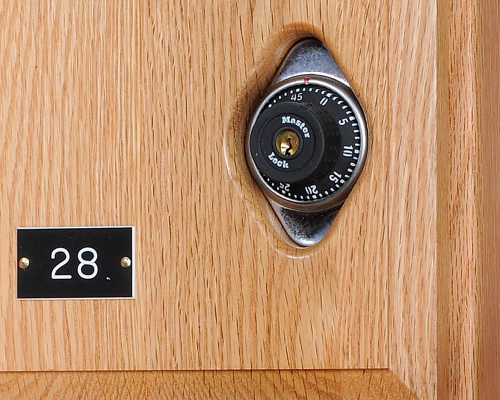
Built-in Master Lock on Each Door
Each locker has a different combination which can be changed up to 4 different times.

Lift-Up Seat With Ventilated Storage
Durable seat lifts on stainless steel hinge to reveal underseat storage. Large ventilation slots help air circulation.
Available Options for Open Wood Lockers
each
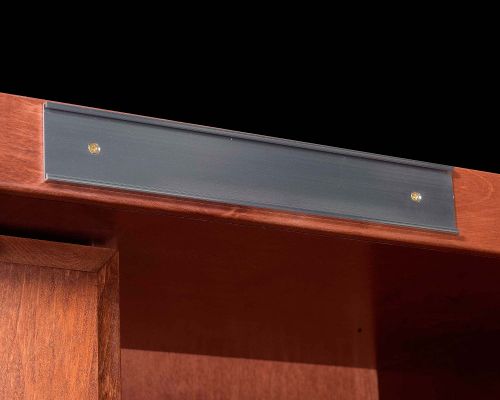
Name Plate Holder
additional
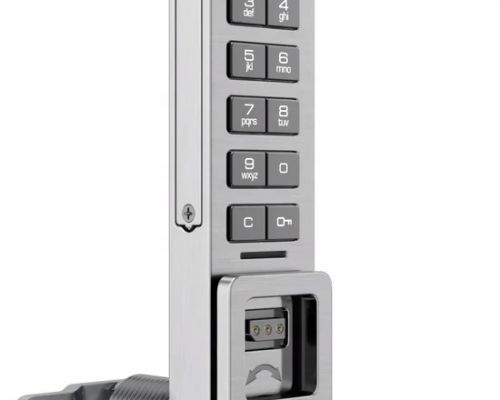
Digital Lock
each
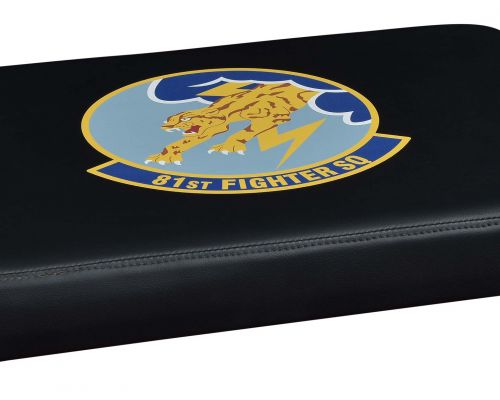
Seat Cushions
each
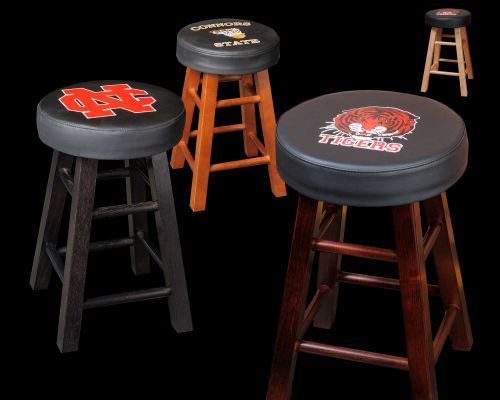
Matching Upholstered Bar Stools
each door
Engraved School Logo
each locker
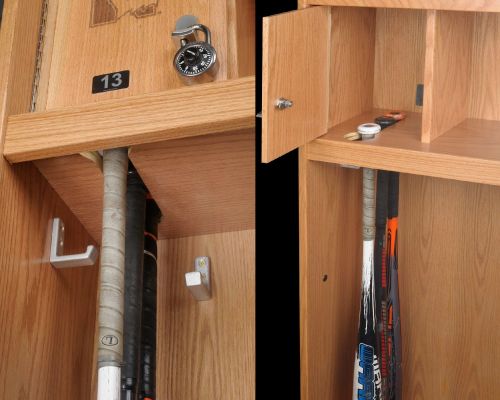
Bat Lock
each

Shoulder Pad Rack
each

Inside Corner Filler
each

End of Run Filler
each
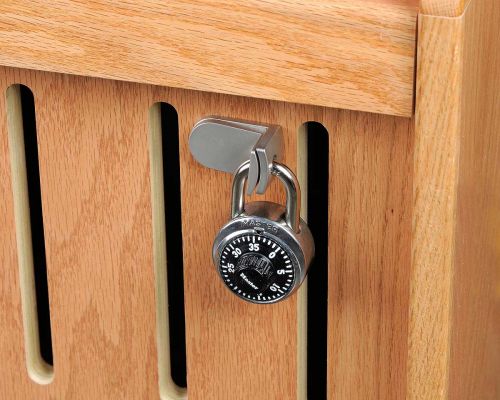
Padlock Hasp Seat
Wood Locker Installation Instructions
AllWood Lockers will arrive four to a pallet, Stretch wrap should be cut from top to bottom between the two black bands with a knife, being careful not to cut into locker. Cut straps, pull cardboard off (it is stapled into skid). Lift locker off skid onto floor. Lockers may then be moved with two wheel dolly from the back only so as not to damage finish.
Instructions, connecting bolts, wrenches, shims,master keys, and list of combinations, will be in locker # 1
Choose your starting locker location and place locker against wall- or against the back of another locker to form freestanding rows. Using a level on the side of the locker place shims between floor and locker to make sure locker is level vertically left to right. Using appropriate lag screws for your wall construction, attach locker to wall- use the two top holes provided in the locker back (located above the top shelf) and use one of the two lower holes under the seat.
Place the next locker alongside this locker and using the provided connector bolts attach to the side of the first locker. If holes do not line up between lockers use shims between locker kick plate and floor to get lockers in line with each other. Repeat with next locker. Every third locker should be attached to the wall with two top lags and one bottom lag. Use shims for lockers that are not in contact with floor, tap in with hammer and pry up with screwdriver so shim will no longer be visible.
Doors may be changed between lockers if necessary.